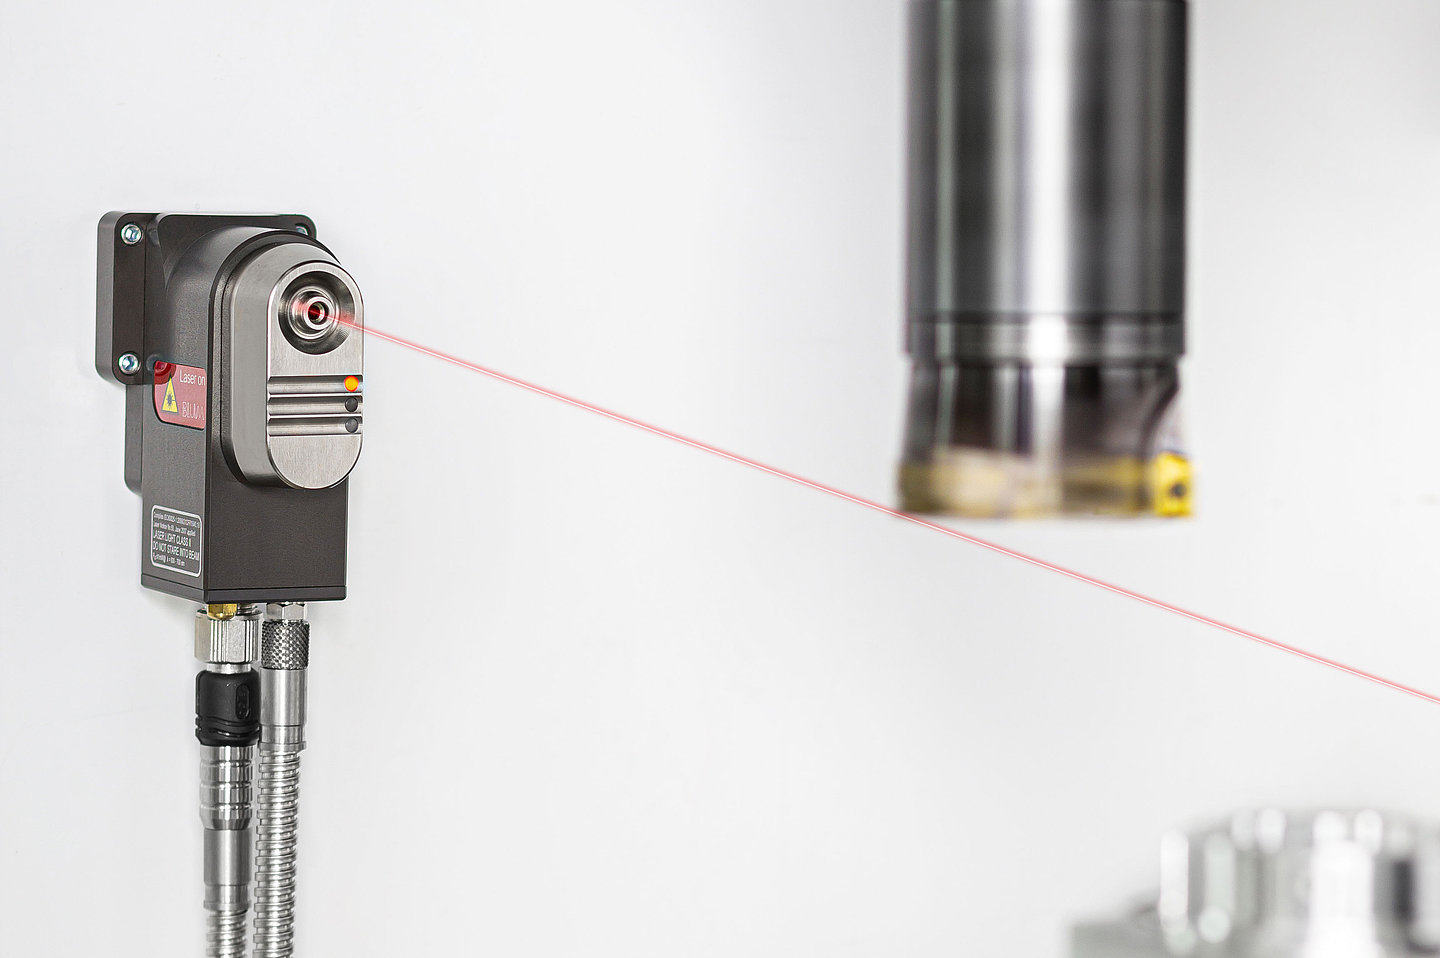
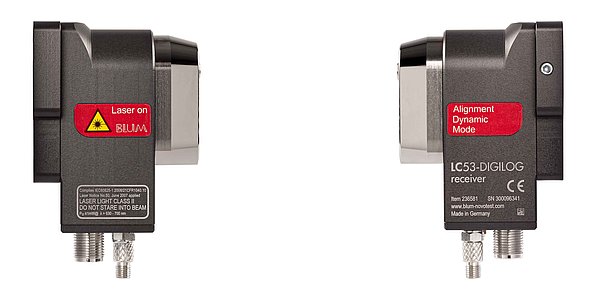
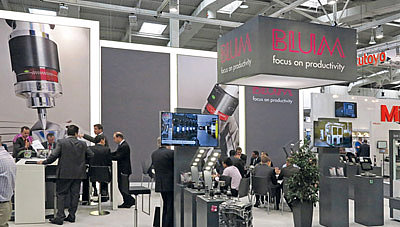
Blum-Novotest, a leading supplier of innovative and high-quality measuring and testing technology, is presenting LC53-DIGILOG, its new laser measuring system for tool measurement and monitoring in CNC machining centres, at the Control (hall 3, booth 3410) and Moulding Expo (hall 1, booth 1|31) trade fairs. With this system, the measurement technology manufacturer has expanded its product spectrum to include an optical system with a separate transmitter and receiver unit and forward-looking DIGILOG technology.
Winfried Weiland, Head of Marketing at Blum-Novotest GmbH, explains: “BLUM revolutionized laser measuring technology for CNC machine tools in 2017 with the LC50-DIGILOG. Not long thereafter, BLUM came out with the LC52-DIGILOG, another support system specifically developed for the combined turning/milling machines on the market. Typically, these systems are mounted either on or next to the machine table to keep the travel distances and the overall measurement times as short as possible. If it is not possible to mount a support system in this area of a machine for structural or application-specific reasons, a solution is called for in which the laser transmitter and receiver can be mounted separately, for example on a machine wall. The new LC53-DIGILOG fulfils exactly this requirement, preventing interfering contours in the working area and enabling its flexible integration in different machine types.”
Laser light barrier LC53-DIGILOG
Devices with separate transmitter and receiver units – namely the predecessor systems Mini NT and Micro Single NT – have already been in the company’s portfolio for many years and are valued for their high degree of precision and process reliability. Thanks to the DIGILOG technology employed in the LC53-DIGILOG, it has been possible to enhance these attributes to an unprecedented level. While the tried-and-test digital/switching laser measuring systems based on NT technology generated only a small number of signals by shading the tool, the new DIGILOG laser measuring systems generate many thousands of measurement values per second while dynamically adjusting the measuring speed according to the tool’s nominal speed. The LC53-DIGILOG also measures each cutting edge individually, rather than just determining the value for the longest cutting edge, and thereby makes a comparison possible from the shortest to the longest cutting edges. Run-out errors, caused by contamination of the taper of the tool holder, for example, are automatically detected. Furthermore, due to the large number of measurements per cutting edge, the LC53-DIGILOG is able to detect contaminants and cooling lubricant adhering to the tool. By deducting them from the calculations, it makes measurement results even more reliable.
The many new ideas implemented by BLUM developers in the LC53-DIGILOG have resulted in impressive advantages for users: For example, the optics in the system were perfected and the homogeneity of the laser beam further improved, making digilog measurements possible in the first place. The influence of coolant mist has been further reduced, leading to even greater accuracy and in-process reliability. A highly user-friendly feature of the new laser generation is tool-free mounting and dismounting of the shutters using bayonet mounts. The LC53-DIGILOG is particularly easy to install with the newly developed mounting set, which can be used to comfortably align the transmitter and receiver unit. For example, systems that are to be mounted on a machine wall can be attached using only a single threaded hole.
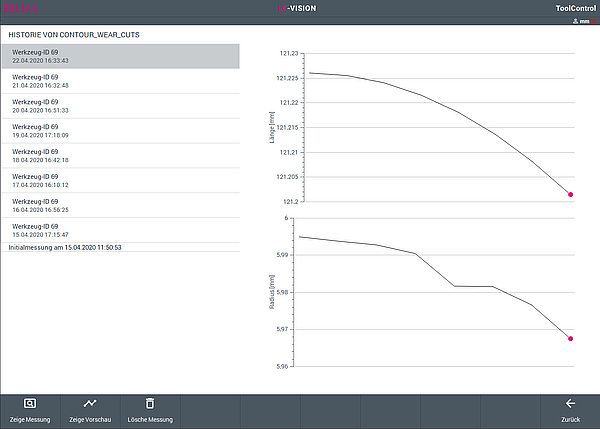
“Of course, the new laser measuring system is compatible with the LC-VISION measuring and visualization software already being used in the support systems. This unique application makes it possible to generate a wide range of measuring tasks on the control screen without requiring NC programming skills, to visualize the measuring results and to analyse these as required. The field of application is not limited to tool measurement but also includes a reliable assessment of motor spindle quality. This feature enables preventive maintenance before machine failure occurs,” explains Weiland.

