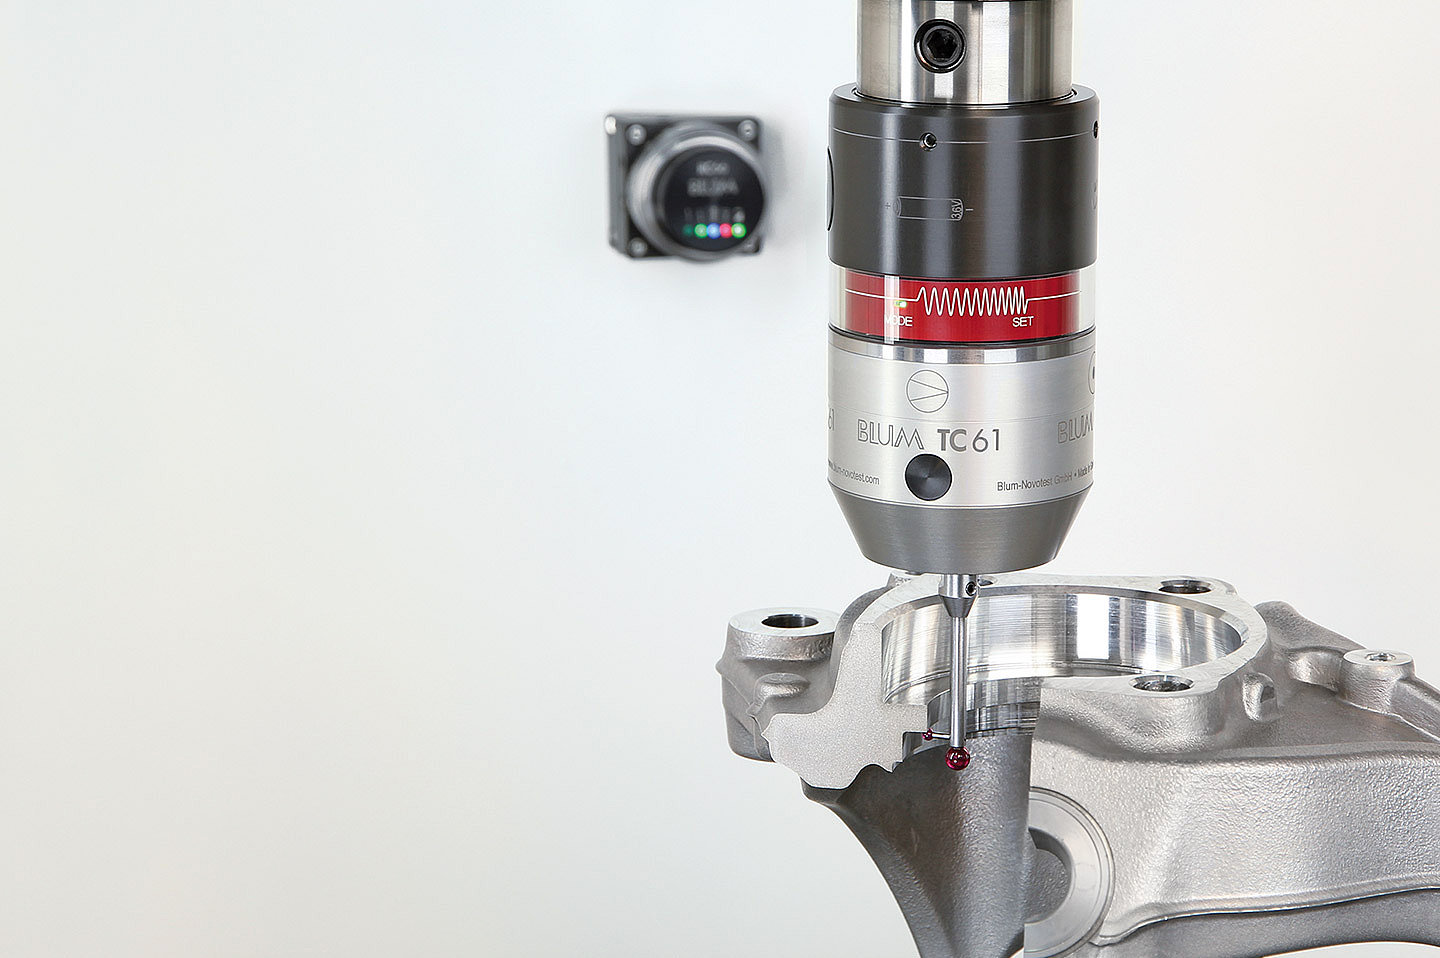
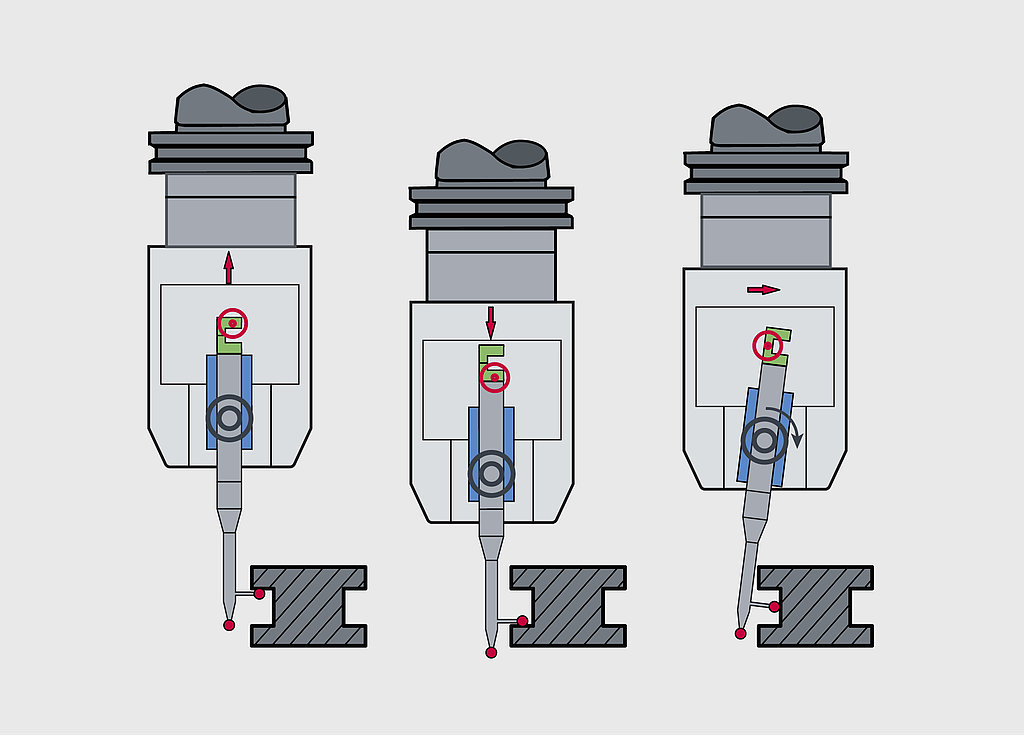
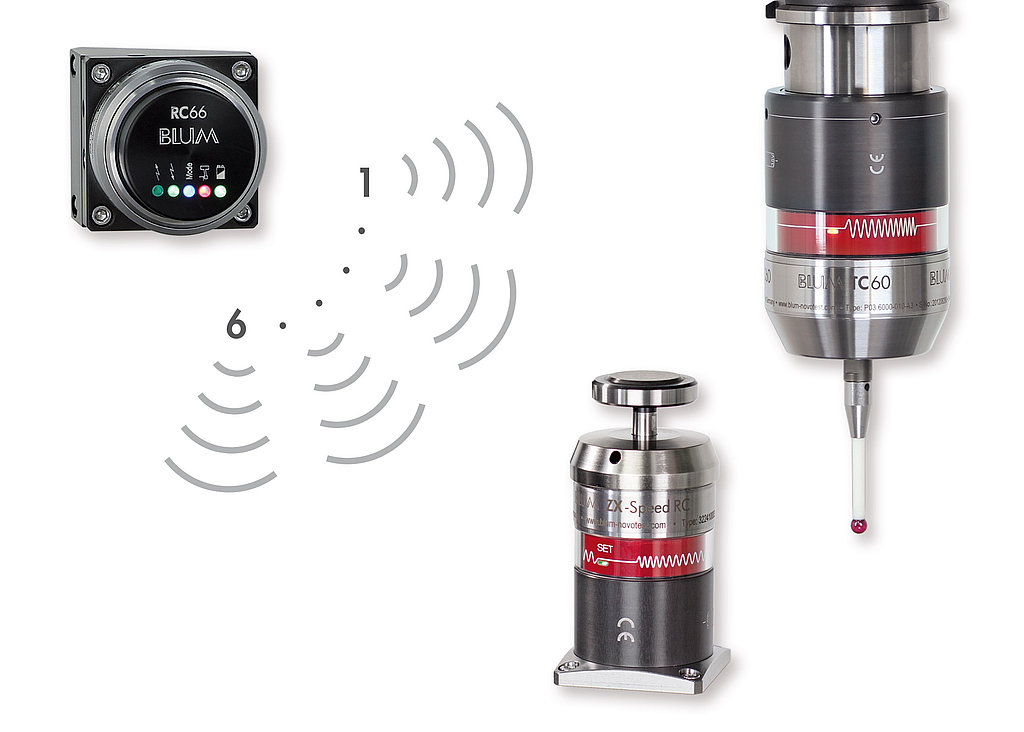
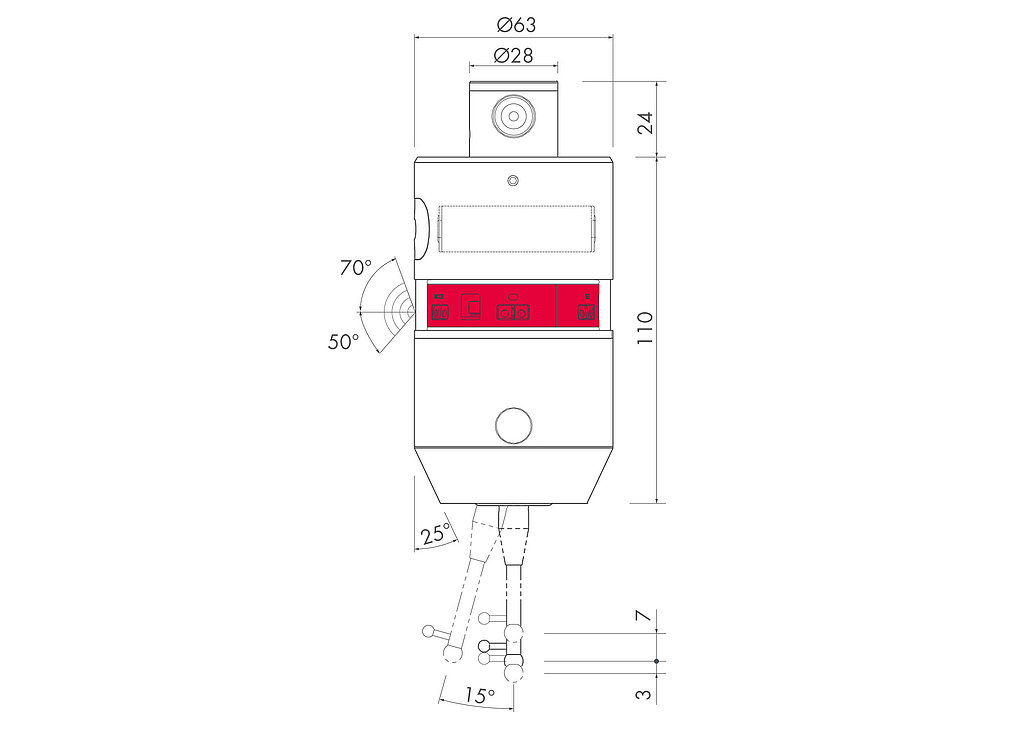
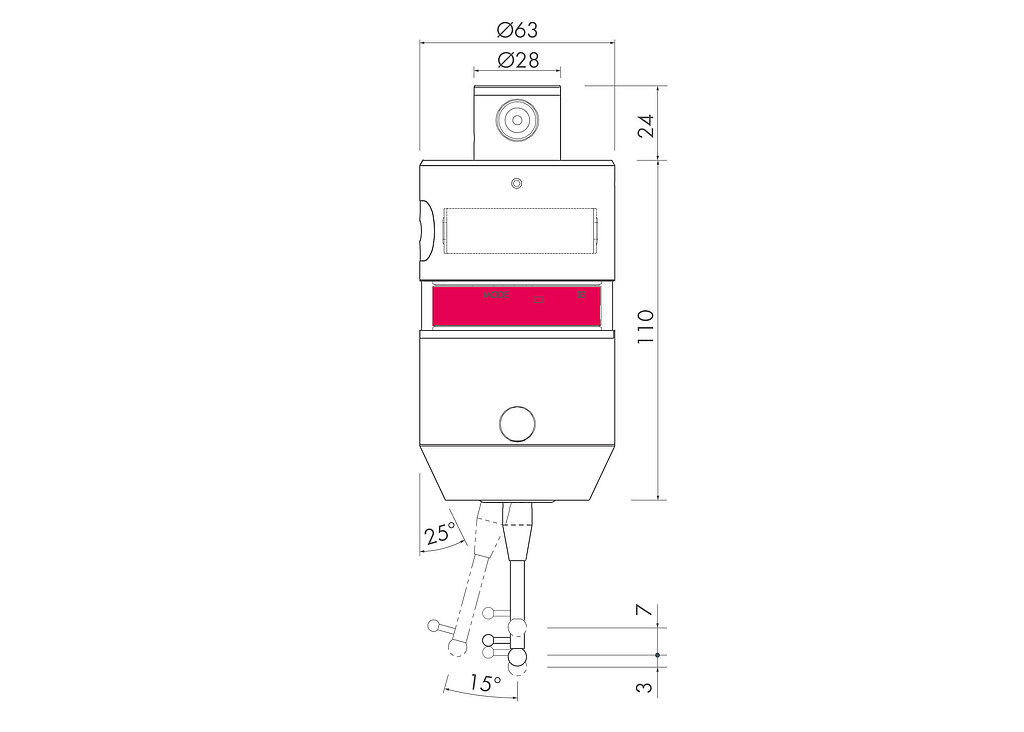
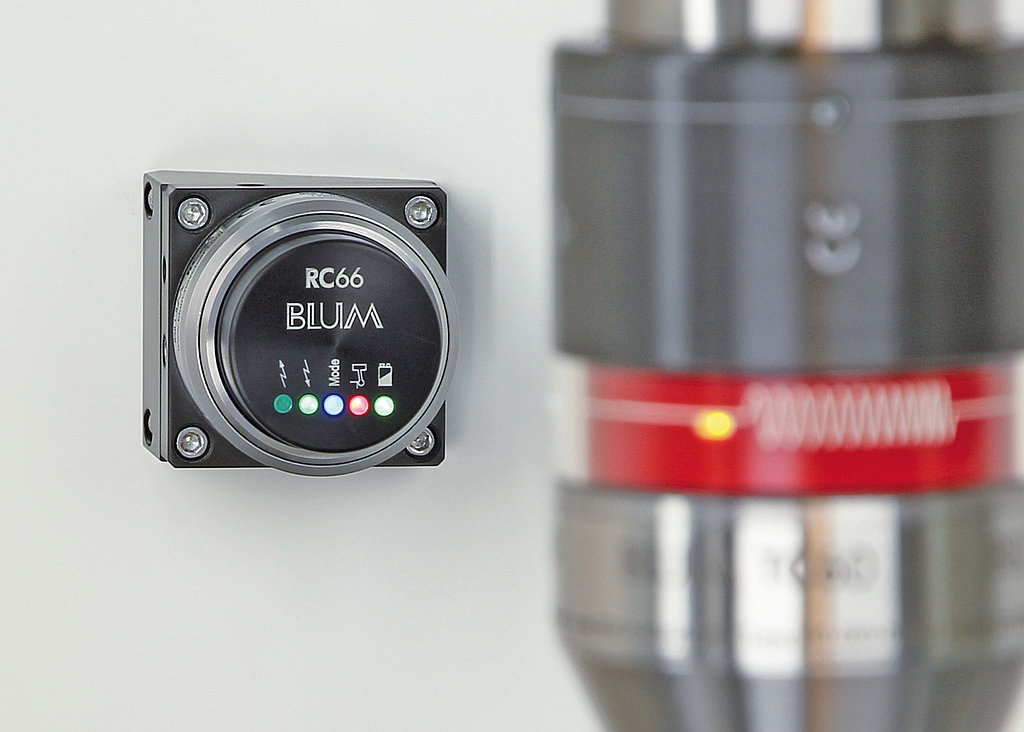
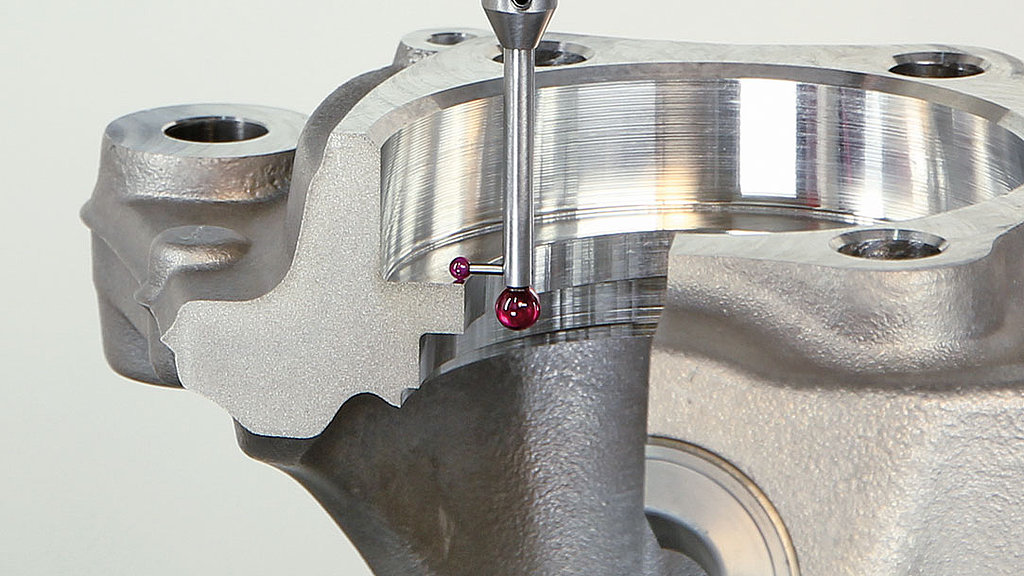
Touch probe specially designed for the requirements of CNC machining centres in highly productive manufacturing. Unique bidirectional measuring mechanism with optoelectronic switch signal generation for superior accuracy at maximum measuring speeds of up to 5 m/min.
TC51 | TC61 touch probes – Globally unique touch probes for fast pulling measurements
- Highlights
- Applications
- Features
- Accessories
BLUM Workpiece Touch Probes
Touch probes by BLUM can be used for the most varied measurement and monitoring tasks in CNC machining centres.
Fast determination of current workpiece position (workpiece zero point) prior to machining or after resetting using digital (switching) measurement.
Digital (switching) measurement of distances, single points, angles, inside and outside diameters, inside and outside widths on a manufactured workpiece.
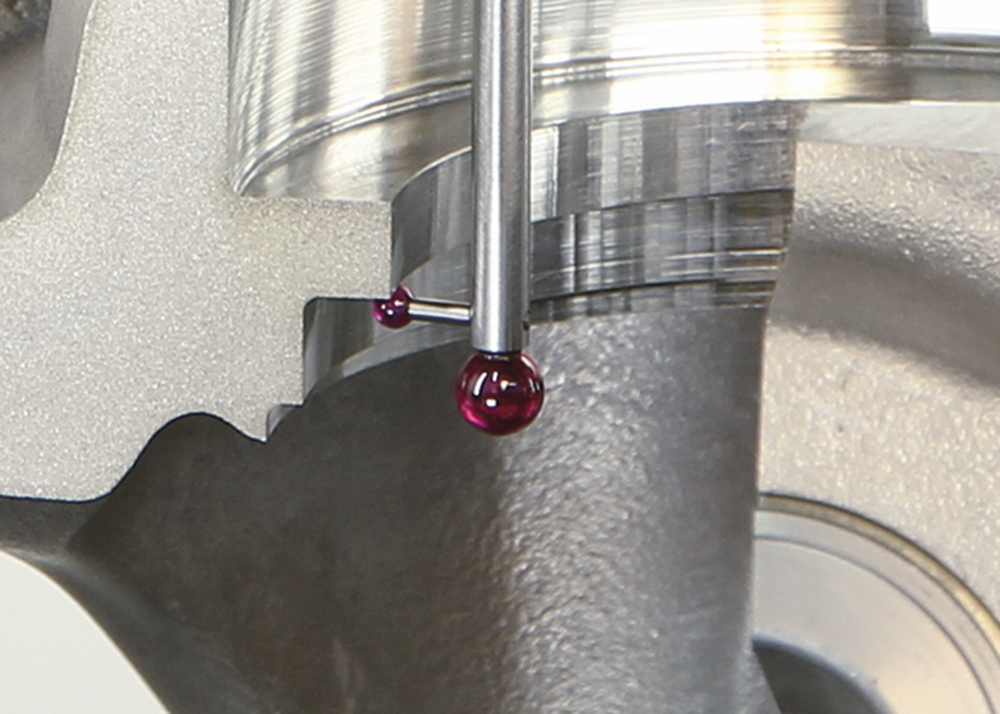
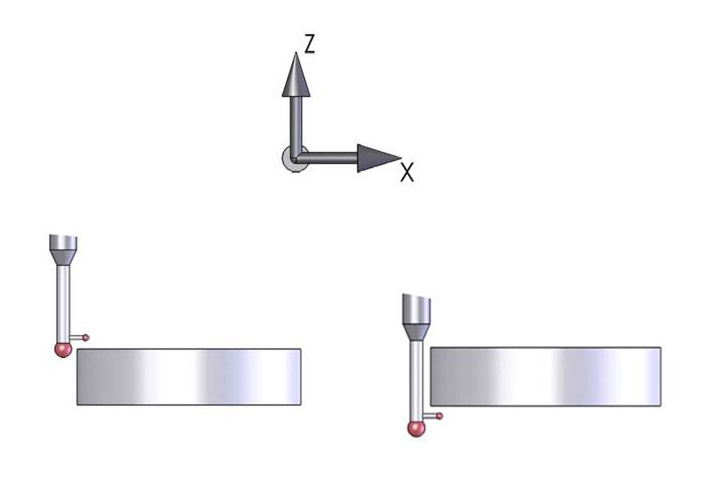
Fast measurement of inside widths, outside widths and recesses using pulling/pushing measurements in Z+/Z-.
Inspection of the manufactured workpieces for machining errors and adherence to manufacturing tolerance by means of control measurements prior to clamping.
Determination of parameters for adaptive machining and process control between and after the machining steps.
Reliable and fast measurements in the coolant thanks to modern measuring mechanism with increased measuring force.
Perfectly suitable for mass production under the harshest conditions thanks to robust design and protection class IP68.
Tool wear is compensated for by taking measurements on the workpiece and comparing these with the nominal dimension.
Compensation of the temperature-dependent thermal behaviour of machining centres.
Quickstart measuring cycles for BLUM workpiece touch probes are user-friendly subroutines of the machine control. They can be used for workpiece referencing as well as for measuring during the production process.
The following measuring cycle packages are available for the TC51 | TC61 touch probes:
- Quickstart Z

